
 story by char vandermeerI’ve been told by certain garlicphobes—shockingly, I know a few—that I stink of garlic. “Stink?” I think. And then, inevitably, the look of bewilderment slides off my face, my mouth opens and something along the lines of “Here, eat some of my husband’s pesto and shut up” graciously pops out.
I’m convinced that my homegrown ingredients are key. And if the basil is homegrown, why shouldn’t the garlic be? The next time you find yourself at your favorite farmers market, pick up a couple heads of garlic: one for tonight’s pesto, and one for your flowerpots. While it may be tempting to grab a bulb from the supermarket’s shelves for planting, the odds are good that that garlic was grown in a cushy climate far, far, far away from Philly’s sleety and snowy winters. Go for the local stuff and you’re much more likely to enjoy a successful harvest.
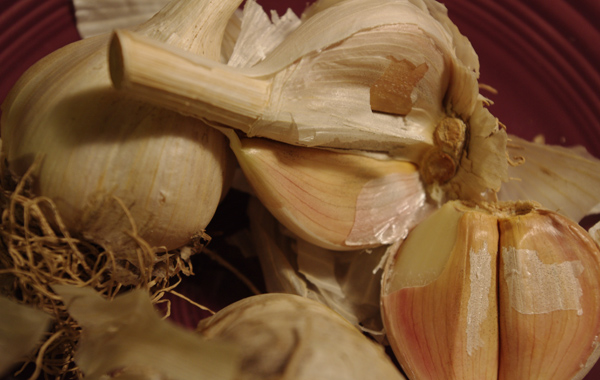
You may also want to consider the type of garlic you plant. There are two species of garlic: softneck and hardneck (each, of course, features a number of different strains). Softneck garlic is favored by grocery stores and conventional farmers because it can be planted mechanically, matures a little more quickly and has a long post-harvest shelf life. It’s characterized by a soft, pliable neck (these stems are perfect for braiding, if you’re so inclined) and white or silvery skins, sometimes with purple blotches, and several layers of cloves around the core. Hardnecks, on the other hand, tend to have one layer of rather large cloves clustered around the hard central stem. Hardneck garlic has another benefit, too: If you’re looking for a spring dinner of delicious scapes (the leafless stem of the plant) to hold you over until the mid- to late-summer harvest, hardneck garlic is the way to go.
For Philadelphians, the best time to get garlic in the ground is November (or even October)—usually within a week or two after the first killing frost. This should allow enough time for root growth to commence, but not enough time for leaves to emerge from the soil. Garlic roots and shoots benefit from the cold and can tolerate freezing temps as long as sudden dips are avoided. So, in other words, mulch. (How do you mulch and with what?)
The best part about garlic is that one clove plus nine (or so) months equals one entire bulb of goodness! Plant each clove, pointy side up, one to two inches deep, in a pot that’s eight to 10 inches deep and filled with rich, well-drained soil. Garlic likes nitrogen, so work some blood meal (animal blood powder) into the soil prior to planting. In the spring, once your garlic has sprouted, feel free to add a thin layer of blood meal to the soil. And if blood meal freaks you out, consider coffee grounds and worm castings (compost created by worms). Conventional farmers need to allow for six to 10 inches between cloves to accommodate harvesting tools, but container gardeners need worry only about the width of their tiny trowel. Four to six inches should allow enough room for a trowel, your fingers and some optimistic bulb development.
Garlic has a fairly shallow root system, and while you can pretty much forget about it until spring, you should remember to hit it with water every once in a while as summer approaches, particularly as it’s bulbing during May, June and July. It’s time to harvest when the lower leaves start to brown. Carefully dig the shoots and roots out of your container, give ‘em a rinse and hang them to dry for three to four weeks in a well-ventilated space. Then bat your eyelashes and convince your husband to whip up a batch of garlicky pesto goodness.
Char Vandermeer tends a container garden on her South Philly roof deck; she chronicles her triumphs and travails at plantsondeck.com.
Yeah! I hate garlic! It stinks! But the benefit it can give to our health is incredible!
Yeah! I hate garlic! It stinks! But the benefit it can give to our health is incredible!