 by Reesha Grosso
There’s no right or wrong way to sew a button. As long as the button stays put, you have done your job. If you have lost your button, check the hem for extras, remove one from somewhere less conspicuous, or buy a button of the same size (look to the other buttons on the garment for guidance). Note the thread color, the thread pattern on the face of the button (X or =), and if there’s a thread shank (a loop of thread under the button) that you’ll want to replicate.
- Thread a needle with a piece of thread the length of your arm. Double it and knot the ends.
- Mark where the button will go with a pencil.
- Line the button up with this mark or with the holes it left behind. Starting from the back of the fabric, push the needle up through the first hole and down though the second. Do the same with the third and fourth hole. Repeat twice for a total of six stitches. The thread should attach the button firmly to the garment without being so tight that it’s hard to button. Occasionally check the back of the fabric to make sure that the thread is completely pulled through.
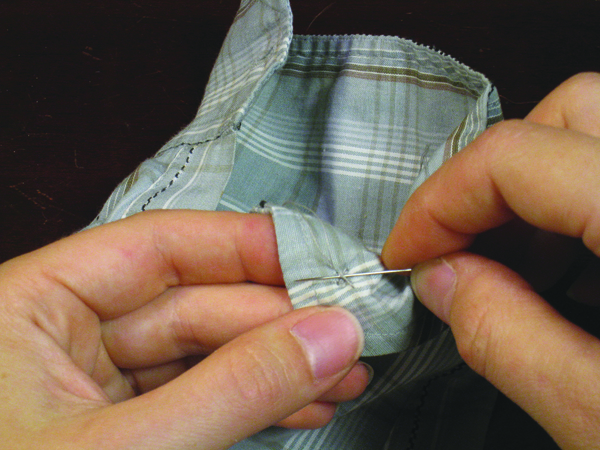
- Tack off thread on the underside of the fabric by making three small stitches, one on top of the other. Clip thread.


